
The terrain of a park is the landscape in which it is built. Terrain sculpting is one of the main game mechanics of Planet Coaster and allows players to paint, sculpt, and add bodies of water. The function was introduced in Alpha 2.
Terrain Editing[]
Painting[]
There are six terrain biomes in the game and each biome has eight available paints for a total of fourty-eight. In the Custom Environment, all 48 paints are available to choose from when setting up the environment, but only the eight final selections can be used once the park is created.
To use the painting tools, select Terrain in the lower right-hand corner of the interface. Eight textures related to the chosen biome will be available. To start painting, hover the mouse over the ground to be changed. A target will appear that represents the size of the brush. Hold down the left mouse button to paint. Moving quickly over an area will apply a lighter coating while slower movements will cause a more dense coat.
Using the controls on the right side of the textures, players can adjust the general intensity of the paint and the size of the brush. Alternately the dash and minus keys (- or =) can be used to change intensity and the left or right square bracket ( [ or ] ) can change the brush size. Surface and Scenery lock is specific to Sculpting and will be grayed out when using paint tools. Paint options are also specific to Sculpting and cannot be changed.
While the park items themselves are required to stay inside the designated lines, paint can be applied to areas outside the lines. These areas cannot be sculpted however. A good hint is to always paint after sculpting since sculpting removes paint. Another good idea is to paint from the top down. The transition will look smoother. Use the 'undo' key to remove the last action taken.
Sculpting[]
Sculpting is used to alter the terrain to create hills, caves, lakes (with the help of the Water tool), caverns, and so much more. Players have used the tools to create creatures, islands, and even a planet. The tools are only limited by the imagination of the player. There are seven tools for the player to choose from. They are:
- Pull - Grabs the surface below the target and raises it. The terrain underneath remains solid, so this tool simply adds material.
- Push - Subtracts terrain from under the target. Often used to create caves, lakes, and caverns from a previously flat surface.
- Flatten to Foundation - Flattens the terrain surrounding the center of the target to the same height of the point under the center of the target. If the center of the target is initially placed on a higher area and then moved, the terrain will attempt to move up to match.
- Flatten to Surface - This tool will attempt flatten the surrounding area (larger circle) to match the sampled area under the center of the target. This can be used to remove unwanted holes.
- Chisel - This tool is similar to push except that it attempts to create a flattened surface.
- Smooth - Less intense than other tools. This will attempt to smooth out texture as well as the terrain between layers.
- Roughen - Quite the opposite of smooth. Good for creating jagged edges and peaks.
Intensity determines the extent of the behaviour of the tool. A high intensity will make the push or pull more extreme. A low intensity will cause the tool to perform more subtle changes. This can be adjusted using the tool interface or with the minus and equals keys (- or =). Players can change the size of the target using the interface or the bracket ( [or ] ) keys.
The Scenery lock will keep terrain tools from moving the ground under placed scenery. The Surface lock determines if the deformation will lock to a surface or not. This is only for the Pull and Push tools. Paint will determine what the terrain looks like when it is altered. Auto-paint will generally paint higher areas with more rock texture and less grass/sand/snow texture when creating terrain. Sampled will sample the paint under the center of the circle and copy it to the surrounding areas. Use Selected will use which ever paint is currently selected in the Paint section of the terrain tools.
At times, the tools can feel like they do similar things which can be quite confusing. It will take practice to learn the behaviour of each one. Check out the videos below for tips and tricks from the developers as well as other players on how to use the tools to create unique terrain.
Water[]
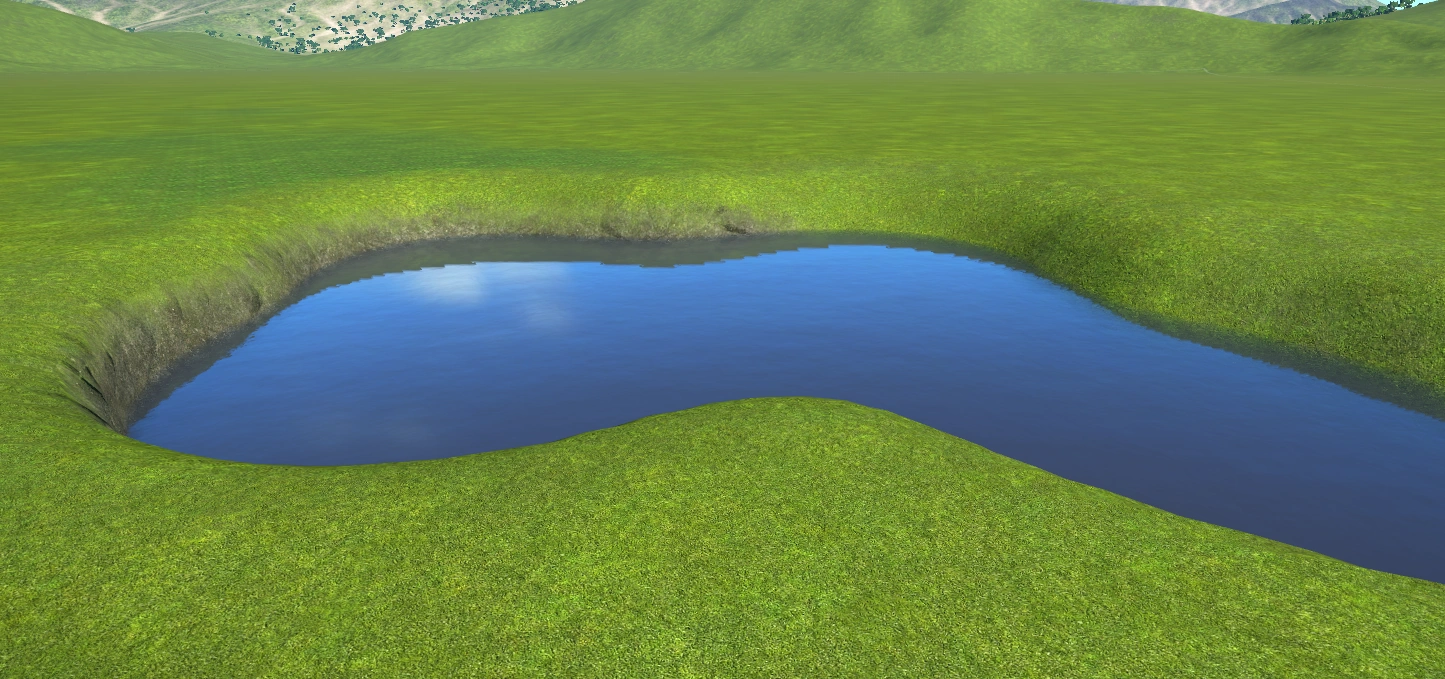
The water tools are rather simple to use. After an area such as a lake bed is created, click on the water type, then place the target in the area that needs water. A blue line will show where the water line will stop when the water is added. A red line means that water cannot be placed at that level or location. Unknown why the paint options are available when placing water.
For players looking to create a waterfall effect, use the sculpting tools to create the area the water will go, then use items such as Special Effect - Waterspout Large to create the waterfall. For multi-layer waterfalls, use a mix of sculpting, waterspouts, and the water tools to create the effect. For other special effects involving water, see Water.
Gallery[]
")
")
")
")
")
")
")
")
")
 (19 KB)")
")