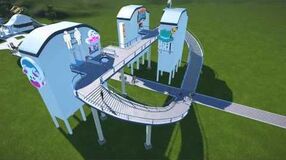
Paths are used to connect buildings, locations, rides, and direct guests. There are three types of paths in Planet Coaster. These are Path, Natural, and Queue.
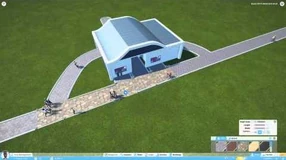
The first option Path consists of 16 different surfaces ranging from stone, to asphalt, to wood. These are used to create the main walkways between buildings such as Food Shops , Drink Shops and Gift Shops as well as other buildings including ATMs and Information . They are used to connect the park together allowing access to all areas for guests. The majority of pathing will be done with this type. Paths exiting rides use this type.
Natural has the same effect as Path, except the textures are painted with either grass or a light grass/dirt mix. Parallel to the path is either curb markers or curb railings.
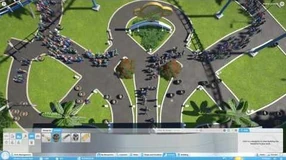
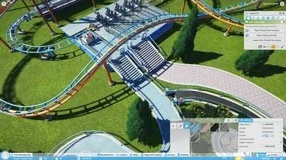
Queue paths are required as an entrance to all rides. They will connect to the other two types of path and guests will automatically use them to queue for a ride. More exciting rides often need longer queue lines, so winding them in a snake-like fashion before connecting them to a ride will allow more guests to wait in line at a time. If the queue is too short, a guest will move on if there is not room and could become unhappy. Unhappy guests spend less money. Make sure the queue is appropriate for the ride it is attached to.
Placing Paths[]
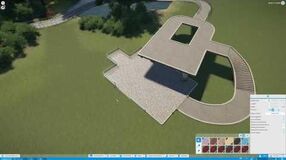
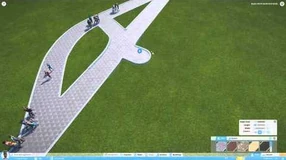
When clicking on the path the player wants to use, then moving the mouse cursor to the ground a circle (or square if that option is checked) of path will appear. Left click to place it, then use the mouse to move and add the next pieces. The length and width can be adjusted in the Path interface, or by using minus and equals ( - or = ) to decrease or increase length, and use the bracket keys ( [ or ] ) to increase or decrease width. Use delete or 'undo' to remove the last piece of path placed.
To raise a path, use 'U' or simply move the mouse with the path attached and the left mouse button held down - back onto itself. To lower the next section (provided no objects or terrain is in the way), use 'J'or simply pull the mouse away from the path with the LMB held down. Adjust the height using the Shift + arrow keys (Up or Down) and use the Shift key alone to reset the height back to zero. If the path turns red during this, it means that there is an obstruction in that immediate area that will not allow the path to be placed. Supports will automatically be placed in relation to the height of the path if Path Supports is enabled in the Advanced Settings.
Rotating junctions or straightening joints can be done with the Z + arrow keys. Additional options include:
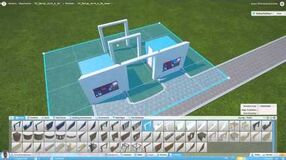
- Align to Grid - A building grid can be select to align paths too. Optionally a grid can be placed under a section of existing path.
- Camera - This option determines how the camera view reacts to path being placed. A free camera will require the player to move the view on the field themselves while placing paths. Other options allow the camera to follow the path while it is being placed.
- Curved Slopes -
- Curb On Ground Path - Determines whether or not curbs are used at ground level.
- Railing On Ground Queue - determines whether or not railing is added to Queue paths for sections on ground level.
- Railing On Elevated - determines whether or not railing is added to elevated paths.
- Railing on Ground Path - determines whether or not railing is added to paths on the ground level.
Official Videos[]
(Some of these may be outdated due to game release and updates)

